
Project-based learning vs tutorials: Escape tutorial hell
Discover why project-based learning makes developers job-ready faster than tutorials. Learn how to escape tutorial hell and build real skills.
Table of contents
- What is project-based learning?
- What project-based learning actually looks like
- When to use tutorials vs project-based learning
- Why tutorial hell is particularly dangerous now
- Why escaping tutorial hell is so hard
- Five signs you're stuck in tutorial hell
- What good project-based learning looks like
- The 7-step plan to escape tutorial hell
- Measuring progress: Know when you've escaped
- Why Frontend Mentor works for project-based learning
- FAQ
- Start building today
You've completed another coding tutorial. The instructor made everything look easy. You followed along, typed the code, and watched it work. You feel accomplished. But then you open a blank editor to build something on your own, and suddenly... nothing. Where do you even start? What file should you create first? How do you structure this? The cursor blinks at you.
Sound familiar? Welcome to tutorial hell. It's that frustrating cycle where you watch endless tutorials, feel like you're learning, but can't build anything when you try. You know the syntax, you recognize the patterns, but when it's time to create something from scratch...nothing.
Unfortunately, tutorial hell is more dangerous now than ever. With 76% of developers using AI coding tools (some sources cite higher adoption), analyses showing entry-level positions down more than 50% compared to pre-2020 levels, and hiring managers looking for candidates who can work with AI rather than compete against it, knowing syntax isn't enough anymore.
But here's the good news: there's a proven way out. It's called project-based learning, and it develops the problem-solving skills that AI can assist with, but can't replace.
In this article, you'll learn exactly what project-based learning is, why it's the critical differentiator in today's market, how to spot if you're stuck in tutorial hell, and most importantly, how to escape it with a clear 7-step plan that works.
What is project-based learning?
Project-based learning means building complete projects from scratch, without step-by-step instructions. Instead of following tutorials, you get requirements and designs, then figure out how to build it yourself. This matches real developer work and develops problem-solving skills faster than tutorial-based learning.
Here's the key difference:
With tutorials, you're learning syntax—how to write code. The instructor makes every decision for you: which library to use, how to structure files, and how to solve problems. You replicate their choices.
With project-based learning, you learn to think like a developer. You get a design and requirements, then you decide how to build it. You structure the solution, debug your mistakes, make trade-offs, and yes, use AI tools strategically when appropriate.
This is exactly what you'll do in a real job. Your product manager won't give you a tutorial. They'll give you requirements and designs, and you'll need to figure out the implementation. Research shows that project-based learning improves problem-solving skills and knowledge retention significantly more than traditional instruction methods.
What project-based learning actually looks like
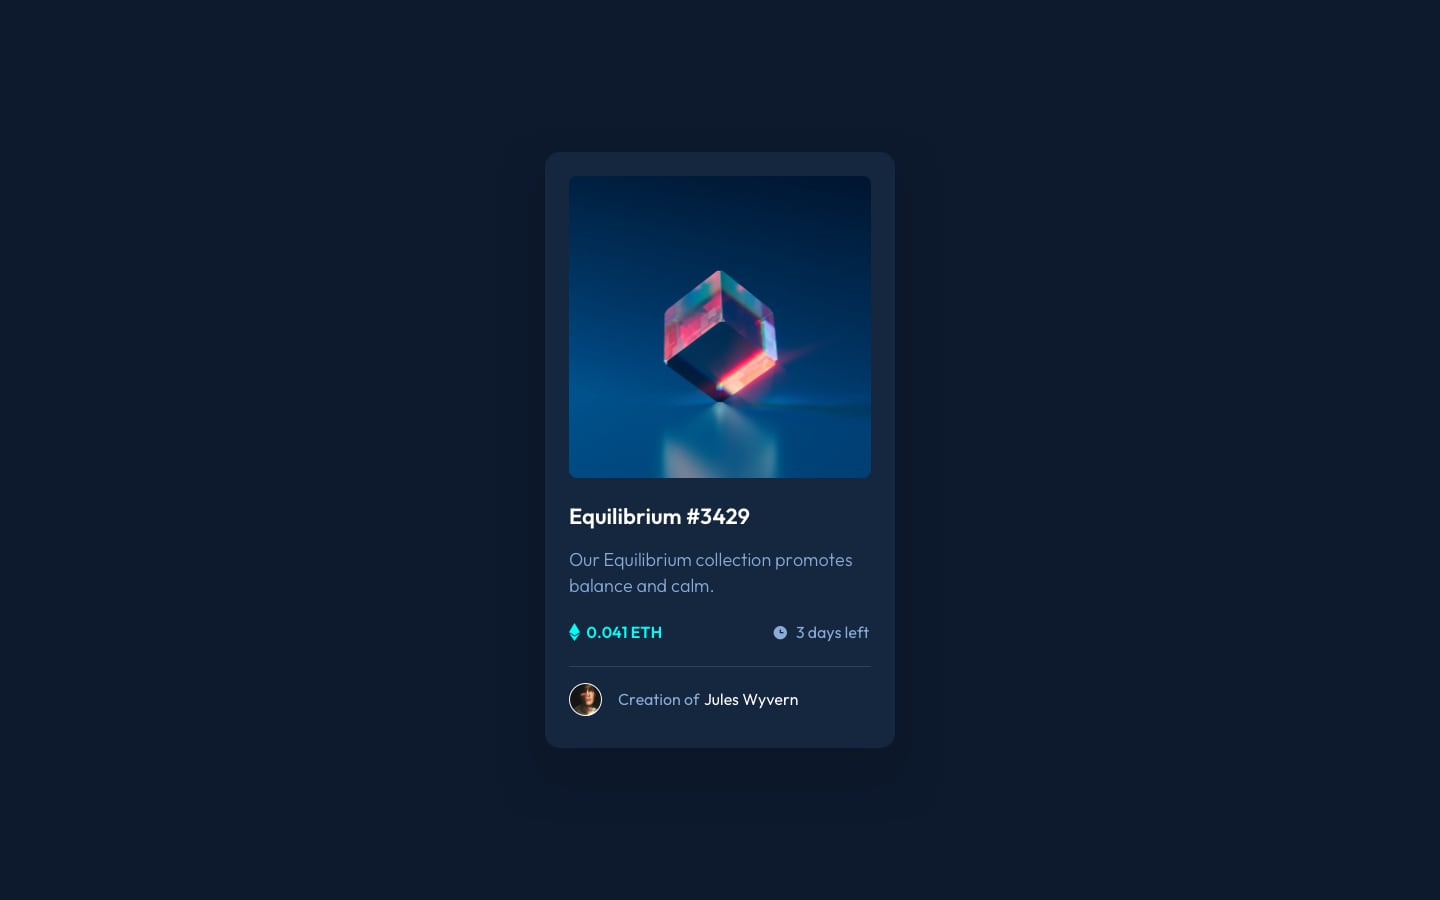
That definition might sound abstract, so let's make it concrete. Here's what project-based learning feels like when you're building an NFT preview card component.
What you're given:
- A design mockup showing exactly how it should look
- Requirements: match the design, handle hover states
- Assets: images, style guide with colors and fonts
What you have to figure out:
- HTML structure and semantic elements
- CSS layout approach (flexbox? grid? something else?)
- How to handle the image overlay effect
- Implementing the hover state
- Organizing your code so it's maintainable
What you're NOT given:
- Step-by-step instructions
- The exact CSS properties to use
- Solutions to problems you'll encounter
- How to debug when something breaks
Here's what the process actually feels like:
- You stare at the design for a bit. Where do you even start? (This is normal.)
- You write some HTML structure. You guess the semantic elements.
- You add some CSS. It doesn't look right. You adjust. Still not quite right.
- You get stuck on the hover effect. You search "CSS image overlay hover effect."
- You find three different approaches. You have to decide which fits your situation.
- You implement one. It kind of works, but the opacity is wrong.
- You debug. You adjust. You test. You adjust again.
- It works! It's not perfect, but it works.
This messy, frustrating, satisfying process? That's learning. That's what builds the problem-solving skills that matter. It's completely different from the smooth, guided experience of a tutorial.
When to use tutorials vs project-based learning
Before we go deeper, let's be clear: tutorials aren't evil. They have their place in learning to code.
Use tutorials for:
- Learning syntax
- Understanding a new concept at a high level
- Seeing an example of how something works
- Quick reference when stuck on something specific
Use project-based learning for:
- Everything after the basics
- Building your portfolio
- Developing problem-solving skills
- Learning to work with AI tools effectively
- Preparing for real development work
A good rule of thumb: Spend about 20% of your time learning concepts through tutorials and documentation, and 80% of your time building projects. This ratio works because you learn far more from struggling through problems than from watching someone else solve them. Studies in educational psychology confirm that active learning (e.g., building projects) produces better outcomes than passive learning (e.g., watching tutorials).
Why tutorial hell is particularly dangerous now
Tutorial hell isn't about watching too many tutorials. It's about using them to avoid the discomfort of building on your own. Here's why that's particularly dangerous in 2025: you're learning exactly what AI already does well.
AI tools like GitHub Copilot, Cursor, and ChatGPT excel at the syntax-heavy, pattern-recognition tasks that tutorials teach. Need a React component? AI can generate it. Need to implement a common pattern? AI knows dozens of approaches.
What AI struggles with? The skills that project-based learning develops:
- Complex system design and architecture decisions
- Novel problem-solving without clear patterns
- Understanding business context and requirements
- Making strategic trade-offs between approaches
- Reviewing code quality and catching subtle bugs
Here's what this looks like in practice:
Two developers apply for the same role. Both completed the same bootcamp. Both can write React code.
Developer A (tutorial-trained) gets the take-home assignment: "Build a dashboard that displays real-time data from our API with custom filtering." They freeze. They've built dashboards in tutorials, but those came with implementation instructions. They Google "how to build dashboard tutorial" and spend hours searching for something close enough to copy.
Developer B (project-trained) sees the same assignment as a variation of problems they've solved before. They don't know the exact solution, but they know how to break it down: fetch data → display data → add filters → optimize renders. They use AI to speed up boilerplate, but make their own architectural decisions. They complete it in half the time.
Both know React. Only one gets the job.
The bar has shifted. In 2021, employers wanted "code writers." In 2025, they need "problem solvers" who can work effectively with AI tools, not compete against them.
Why escaping tutorial hell is so hard
Knowing you're in tutorial hell isn't enough to escape it. The pattern is sticky because tutorials exploit our desire for certainty. They guarantee you won't fail because every answer is provided. Finishing courses gives you that satisfying progress bar completion. You collect certificates and feel productive.
But that safety is exactly what prevents growth. You're practicing following directions, not making decisions. You're building nothing real. You're not developing the differentiated skills that matter in today's market.
Every time you reach for another tutorial instead of opening a blank editor, you're choosing comfort over competence.
Projects offer guaranteed discomfort. No answers. No certainty. You, a blinking cursor, and anxiety. But here's the catch: that discomfort isn't a bug. It's the feature. Real learning lives in the struggle.
You need a structured way to embrace that struggle, not endless encouragement to "try harder." That's what the framework below provides.
Five signs you're stuck in tutorial hell
- You finish tutorials but can't apply what you learned. You watched someone build a todo app, but when you try to make one yourself, you don't know where to start.
- You search for a new tutorial every time you need to do something. Instead of trying to solve problems yourself, your first instinct is "I need a tutorial for this."
- You're collecting certificates instead of building projects. Your "portfolio" is a list of courses completed, not things you've built.
- Opening a blank code editor gives you anxiety. Without instructions, you freeze. The cursor blinks, and nothing happens.
- You know syntax but don't know what to build or how to start. You can recognize code patterns, but you can't create them from scratch in a real situation.
If you recognize yourself in 2 or more of these signs, you're in tutorial hell. Let's get you out.
What good project-based learning looks like
Project-based learning means building from designs and requirements—no step-by-step instructions. But how do you choose the right projects? Here's what makes a good project at each level:
Good beginner projects have:
- A single main feature or functionality
- Clear success criteria (you'll know when it works)
- Common UI patterns you'll see in real jobs
- Limited scope (completable in a weekend or less)
Good intermediate projects add:
- Multiple features that interact
- State management challenges
- Real-world data (APIs, forms)
- Decisions about architecture
Good advanced projects include:
- Complex state across features
- Performance considerations
- Scale and maintainability trade-offs
- Multiple possible "right" solutions
Beginner projects: Start small and focused
When you're escaping tutorial hell, choose projects you can complete in one focused session:
- Blog preview card: Build your understanding of HTML structure and CSS layout.
- FAQ accordion: Build show/hide functionality and manage state.
- Interactive rating component: Capture user input and display dynamic feedback.
- Newsletter sign-up form: Build form validation and success states.
You get a design and requirements, then figure out the code yourself. The challenge isn't only "make it look right" but "make it work properly, handle edge cases, and write code you can understand later."
Intermediate projects: Add complexity
As you progress, tackle projects that require architectural thinking:
- Contact form: Build accessible forms with multiple input types and comprehensive validation.
- Calculator app: Handle complex user input and state management across operations.
- Multi-step form: Manage state across multiple screens with validation and persistence.
- REST Countries API: Fetch data from a real API, handle loading states and errors.
These require decisions that tutorials can't make for you. Should you use context or state management libraries? How do you structure your components? What error handling patterns make sense?
Advanced projects: Real architectural challenges
Eventually, tackle projects where there's no single "right" answer:
- Bookmark manager app: Build frontend-only or full-stack with authentication and database design.
- Product feedback app: Handle complex nested state and make architectural decisions in a larger codebase.
- Audiophile e-commerce website: Build a complete e-commerce experience with cart, checkout, and routing.
At this level, you're solving problems that require judgment and context—exactly what AI tools can assist with but can't replace.
The 7-step plan to escape tutorial hell
Ready to make the switch? Here's your framework for moving from tutorial-based learning to project-based learning:
Step 1: Learn the absolute basics
Spend 2-4 weeks maximum on tutorials to learn:
- HTML structure and semantic elements
- CSS fundamentals (layout, positioning, flexbox)
- JavaScript core concepts (variables, functions, arrays, objects, DOM)
- Version control basics (Git and GitHub)
Don't aim for mastery. Aim for "good enough to start building." If you're picking it up quickly, move on sooner. If you need a bit more time on fundamentals, take it—but set a deadline.
Check out freeCodeCamp, The Odin Project, or Web.dev for structured basic tutorials, but remember: tutorials are just the starting point for learning to code.
Step 2: Pick a small, specific project
Choose something achievable in one weekend:
Critical: Pick something slightly beyond your current comfort zone. If it feels too easy, it won't teach you much. If it feels impossible, break it down more.
Step 3: Start building (and sit with the discomfort)
Open your code editor and start. Yes, you'll feel lost. That's the point.
If you freeze immediately (within 5 minutes), that's normal. Don't reach for a tutorial yet. Instead:
- Look at the design for 30 seconds without touching the keyboard
- Identify ONE element you know how to create (even if it's a div)
- Write that element
- Look at the design again—what's the next simplest thing?
- Write that
- Repeat
You're building momentum with tiny wins. The first element is the hardest. The second is easier. By the fifth, you're in flow.
If you're still stuck after 15 minutes, THEN search for specific help—but be precise: "How to center a div vertically" not "How to build a card component."
Write the HTML structure. Try the CSS. Make mistakes. Get it wrong. This discomfort is learning in action.
Step 4: Break it into tiny steps
Still overwhelmed? Break the project into absurdly small tasks:
Example: Building a card component
- Add background color to the body
- Create card container
- Center the card on the page
- Add the card background and border
- Add the image
- Add the title
- Add the description text
- Style the text
- Test the spacing
- Review and refine
Each small task is achievable. You'll build momentum with quick wins instead of feeling overwhelmed by "building a card component."
Step 5: Get stuck → research → solve (with AI when appropriate)
Getting stuck is learning. When you hit a wall:
❌ Don't: Go back to tutorials ✅ Do: Search for the specific problem
Search like this:
- "CSS center div vertically and horizontally"
- "JavaScript event listener on multiple elements"
- "React useEffect cleanup function"
Be specific. Search for the exact problem you're facing, not general concepts.
How to use AI tools effectively
This could be an article all to itself, but here are some quick pointers for using AI tools effectively:
- ✅ After you've tried solving it yourself first, to see other possible implementations
- ✅ "I tried centering this div with flexbox, but it's not working. Here's my code: [paste]. Can you explain what I'm missing?"
- ✅ For understanding error messages: "What does this error mean: [paste error]"
- ✅ To review your code: "Can you review this function and suggest improvements?"
Don't use AI tools like this:
- ❌ Before you've attempted the problem
- ❌ "Write this function for me"
- ❌ "Take this design and build this project"
- ❌ Without reading and understanding what the AI suggests
Real developers search for answers every day. The skill isn't memorizing everything. It's knowing how to find solutions, evaluate them, and adapt them to your needs. Stack Overflow and MDN Web Docs are valuable resources for finding specific answers, as well as AI chatbots like ChatGPT and Claude.
When you're really stuck: Take a break. Walk away from the screen. Do the dishes. Take a shower. Your subconscious keeps working on the problem. Often, the solution clicks when you're not staring at the code.
Still stuck after trying everything? Join our community and ask for help. But ask well:
- Share your code (GitHub repo or CodePen)
- Explain what you're trying to do
- Describe what you've already tried
- Point to the specific part where you're stuck
This isn't only about getting answers. It's practicing how to communicate technical problems, a crucial skill for working on development teams.
Step 6: Review and improve
After it works, make it better:
- Clean up your code. Remove duplicates, improve naming, and add helpful comments
- Review AI-generated code carefully. If you used AI assistance, make sure you understand every line
- Test edge cases. What happens if the user does something unexpected?
- Consider accessibility. Can someone navigate this with a keyboard? What about screen readers?
- Reflect on your decisions. What would you do differently next time?
Ask yourself:
- Can someone else understand this code?
- Would I understand this code in 6 months?
- Are there any magic numbers or unclear variable names?
- Does this handle errors gracefully?
This reflection is how you improve faster. It also gives you stories for interviews: "I initially tried X, but then realized Y would be better because Z."
Step 7: Share and get feedback
- Deploy your project live (Netlify, Vercel, GitHub Pages)
- Push code to GitHub with a comprehensive README
- Submit your solution on Frontend Mentor
- Share it for feedback in our community
- Actually apply the feedback you get
- Build the next project
Document your process in the README:
"Invoice app taught me about date formatting. GitHub Copilot's solution broke across different locales—everything was displayed in US format. Had to learn about Intl.DateTimeFormat to make it work globally."
Being transparent about your process, including how you work with AI tools, shows maturity and critical thinking.
Measuring progress: Know when you've escaped
You don't need to master everything. You've successfully escaped tutorial hell when:
You can:
- Start a new project without looking for a tutorial
- Debug problems you haven't seen before
- Explain your code decisions clearly
- Make architectural choices (even if they're not perfect)
- Build something from a design without step-by-step instructions
- Use AI tools strategically (not as a crutch, but as a productivity multiplier)
You have:
- 3-5 substantial projects you built yourself (not tutorial copies)
- Code on GitHub that you can explain thoroughly
- At least one project that consumed APIs or handled complex state
- Experience getting stuck and finding your way out
- The confidence to tackle problems you haven't solved before
You feel:
- Confident opening a blank editor
- Comfortable saying "I don't know, but here's how I'd figure it out"
- Frustrated with tutorial pace because you want to BUILD
This isn't about perfection. It's about competence and growth trajectory. The skills you develop through project-based learning—problem-solving, architectural thinking, debugging, working with AI effectively—these are what matter in real development work.
Why Frontend Mentor works for project-based learning
Most coding practice sites give you instructions. Frontend Mentor gives you what you'd get at a real job: professional designs and requirements. Figure out the rest.
This might feel uncomfortable at first. That's intentional. That discomfort is exactly what builds the problem-solving skills that matter.
What makes this approach effective:
- Real design files. You're not guessing what it should look like. You're implementing a professional design.
- No solutions provided. You have to figure it out yourself. (Though the community can help when you're genuinely stuck.)
- Progressive difficulty. Start with simple components, progress to complex applications.
- Community feedback. Get your code reviewed by other developers learning the same skills.
When you complete a Frontend Mentor challenge, you haven't followed instructions. You've solved many small problems that build genuine experience. That's the difference.
FAQ
What do you mean by project-based learning?
Project-based learning (PBL) is a teaching method where you learn by actively working on real projects rather than passively consuming information. For developers, this means building complete applications from designs and requirements without step-by-step tutorials. You make architectural decisions, solve problems independently, and learn through hands-on experience. Unlike traditional tutorials that teach syntax, project-based learning develops problem-solving skills and decision-making abilities that employers actually need.
What is an example of project-based learning?
A concrete example: building a REST Countries API challenge where you're given professional designs and requirements, but you must figure out how to fetch data, handle loading states, implement search and filtering, manage errors, and structure your components. You're not following a tutorial—you're solving real problems. You might get stuck on API error handling, research solutions, try different approaches, and eventually ship a working application. That struggle and problem-solving process is project-based learning in action.
What are the 7 steps of project-based learning?
The 7 steps to effective project-based learning for developers are:
- Learn absolute basics (2-4 weeks on core syntax)
- Pick a small, specific project (weekend-sized scope)
- Start building (embrace initial discomfort)
- Break it into tiny steps (make progress manageable)
- Get stuck → research → solve (use resources strategically, including AI)
- Review and improve (refactor, test edge cases, consider accessibility)
- Share and get feedback (deploy, get code reviewed, iterate)
This framework moves you from tutorial dependency to confident, independent building while developing the problem-solving skills that matter in real development work.
What are the 4 principles of project-based learning?
The four core principles of project-based learning adapted for developers are:
- Active construction over passive consumption: You build projects rather than watch tutorials, forcing your brain to actively problem-solve instead of passively absorb.
- Authentic challenges: Projects mirror real development work with actual designs, requirements, and constraints—not artificial tutorial scenarios.
- Productive struggle: Getting stuck and working through problems develops deeper understanding than following step-by-step instructions. The difficulty is the point.
- Iterative improvement: You build, get feedback, refactor, and improve—reflecting real development cycles and continuous learning.
These principles explain why project-based learning produces job-ready developers faster than tutorial-based approaches. You're practicing the actual skills you'll use daily in development roles.
Start building today
You've got the framework. You understand why tutorials aren't enough for learning to code. Now comes the part that actually changes things: building your first project.
Your path forward:
- Spend max 1 month on basic tutorials
- Start building small projects immediately
- Follow the 20-80 rule: 20% learning, 80% building
- Get comfortable being uncomfortable
- Build at least 10-15 practice projects (show your best 3-5)
- Get feedback and keep improving
- Use AI tools strategically, not as a replacement for thinking
You're not learning to code. You're learning to solve problems with code. The only way to learn problem-solving is by solving problems.
Tutorial hell is comfortable. Project-based learning is uncomfortable. But competence lives on the other side of that discomfort.
Ready to escape tutorial hell? Start your first Frontend Mentor challenge and build something real today.
Not sure where to start? Check out our "Getting started on Frontend Mentor" learning path—small projects designed specifically for people escaping tutorial hell.
If you need some inspiration, read how community member, Toba, escaped tutorial hell and landed a professional developer role.
Take your skills to the next level
- AI-powered solution reviews
- 50+ portfolio-ready premium projects
- Professional Figma design files