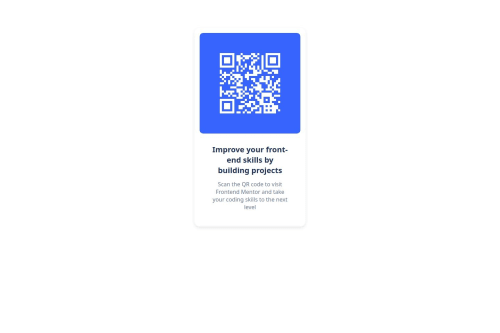
My QR Code Card – Frontend Mentor Challenge

Solution retrospective
finishing the project, search different ways of solving the problem and chose one that fits best
What challenges did you encounter, and how did you overcome them?i mistakenly deleted my first solution while trying to upload, i had to rewrite the whole code again
What specific areas of your project would you like help with?uploading the project via vs code terminal
Please log in to post a comment
Log in with GitHubCommunity feedback
- @Mahnoor366880
You've done a fantastic job with your QR code project!✨ It already has a great structure, and with just a few refinements, you can make it match the required design perfectly. Your effort in building this challenge shows your dedication to improving your frontend skills—keep up the great work!
To fine-tune your design and align it with the expected result, here are a few key improvements to make:
- Background Color Adjustment
Your current background is plain white, but the required design features a light blue background for a softer look. You can achieve this by adding the following CSS:
body { background-color: #d5e1ef; /* Light blue background / display: flex; justify-content: center; align-items: center; min-height: 100vh; / Center the card / font-family: 'Outfit', sans-serif; / Ensure correct font */ }
- Card Styling Improvements
Your card already looks great, but adding rounded corners and a subtle shadow will enhance its appearance and give it a floating effect.
Update your .card CSS with the following:
.card { background: white; padding: 20px; border-radius: 15px; /* Rounded corners / box-shadow: 0 10px 20px rgba(0, 0, 0, 0.1); / Subtle shadow */ text-align: center; max-width: 320px; }
These small refinements will make your project even more polished and professional. You're on the right track—keep pushing forward, and soon, you'll be mastering even more complex frontend challenges! Great job!
Marked as helpful - @MarziaJalili
Great job!
Some suggestion:
You can use the terminal in the vs code for publishing the project to github.
- First, make sure you've download
Git, if not it won't work. - Second, in the terminal run the code below to register your username and email:
// username git config --global user.name "Your Name" // email git config --global user.email "your_email@example.com"- Then, initialize the repository aka the project's folder:
git init- After running this code, add all the files by using the line below:
git add .- Next, set your first
committo inidicate you've initialized the repo:
git commit -m "Initial commit"And that's all it!
Now all you have to do is to go to your github account find the repo and go to it's setting. In the
settingsgo topagesand there will be a section called braunch, in case you're not aware of that, click theselect branchdropdown and choosemainand hitsave.Wait for a minute or two and then refresh the page and you will get the url of your web.
Actually, I prefer using the git source control since it doesn't require me to write any code at all.
In this way, as long as you have Git downloaded on your device you can follow the steps below:
-
First, to nevigate to the source control you can click it's option below the folders icon and the search icon on the side bar of vs code or simply press
ctrl + shift + G. -
Second, click the
Initialize Repositorybutton. -
Then, you will have to write your first commit in the input field, something like
inital commitas above and then click thecommitbutton. -
Then, press the
Publish Brunchbutton.
And you're repo will be published to Github this easily! At the end follow the same steps for settings as above and your all set.
In case you find any difficulties, let me know.
😎😎😎
Marked as helpful - First, make sure you've download
- P@klhaug
Hi!
Looks great.
Seems like your text-padding is a bit heavy-handed. Might look into that and let there be fewer lines of text.
Besides that, great job! Keep it up
- P@LiJunXiang1234
From the visual effect, it seems that you haven't centered the card, the background color is different from the design, and the font size needs adjustment.
I thought these were just simple value adjustments, but when I looked at your code, to be honest, I was quite shocked. I sincerely apologize, but I can't understand your code and am unable to provide specific modification suggestions.
If you need help or have any questions, feel free to ask me! (Although I'm also a beginner, I'll do my best to respond!)


Join our Discord community
Join thousands of Frontend Mentor community members taking the challenges, sharing resources, helping each other, and chatting about all things front-end!
Join our Discord