


@Tawakalt10
Latest solutions
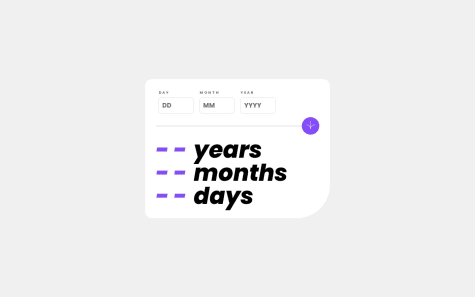
Responsive Sunnyside agency landing page || Mobile-First Workflow
#animationSubmitted about 2 years ago
Latest comments
- @SudodoSu
Hello Coder 👋.
Congratulations on completing the challenge! 🎉
I would recommend a few things:
I recommend using a forEach loop to iterate over inputs for error handling. Additionally, adopting a mobile-first workflow for design ensures a seamless user experience on different devices.
You can check out my solution for more info: Link
I hope this helps. Happy coding😄
Marked as helpful - @RixCrafts@SudodoSu
Hello Coder 👋.
Congratulations on successfully completing the challenge! 🎉
To prevent scrolling on the body element, you can apply the CSS property
overflow: hiddento it. This will ensure that the content within the body does not cause any scrolling behavior. By settingoverflowtohidden, the scrollbar will be hidden, and users will not be able to scroll within the body.Here's the updated code snippet:
body {
overflow: hidden;
}
By adding this CSS rule to your stylesheet, you can effectively prevent scrolling on the body element and provide a seamless user experience without unnecessary scrollbars.
You also left one closing </div> element at the bottom of the body.
I hope this helps.
Happy coding😄
- @jeansy42@SudodoSu
Hello Coder 👋.
Congratulations on successfully completing the challenge! 🎉
I recommend using a text input field without inner spin button arrows and limiting it to accept only numeric input. This ensures a consistent user experience across browsers, including those that don't fully support the WebKit engine. You can check out my solution where I used this approach: Link
I hope this helps. Happy coding😄
Marked as helpful - @daletorres@SudodoSu
Hello Coder! 👋
Congratulations on successfully completing the challenge! 🎉
To create a two-column layout using flexbox, I would recommend the following approach:
- Create two boxes using the
<div>element: one for the left column and another for the right column.
<div class="left-box"> </div> <div class="right-box"> </div>-
Replace the <div> element with a <main> element, which will serve as the main container for the layout.
-
Apply CSS styles to achieve the desired layout using flexbox. Here's an example:
.container {
display: flex;
}

.left-box {
/* Styles for the left box */
}

.right-box {
/* Styles for the right box */
}
By setting the display property of the container to flex, the child elements (left-box and right-box) will automatically arrange themselves in a row.
I hope you find this explanation helpful. Happy coding! 😄
Marked as helpful - Create two boxes using the
- @front-end963@SudodoSu
Great job! I would highly recommend utilizing a grid system to enhance the flexibility of element manipulation and resolve the problem with the bottom-right box.
To achieve this, you can create a new <div> element within the main container and place all the other elements inside it. Apply the CSS property display: grid; to this <div>, and define grid template areas to organize the layout effectively.
Marked as helpful


